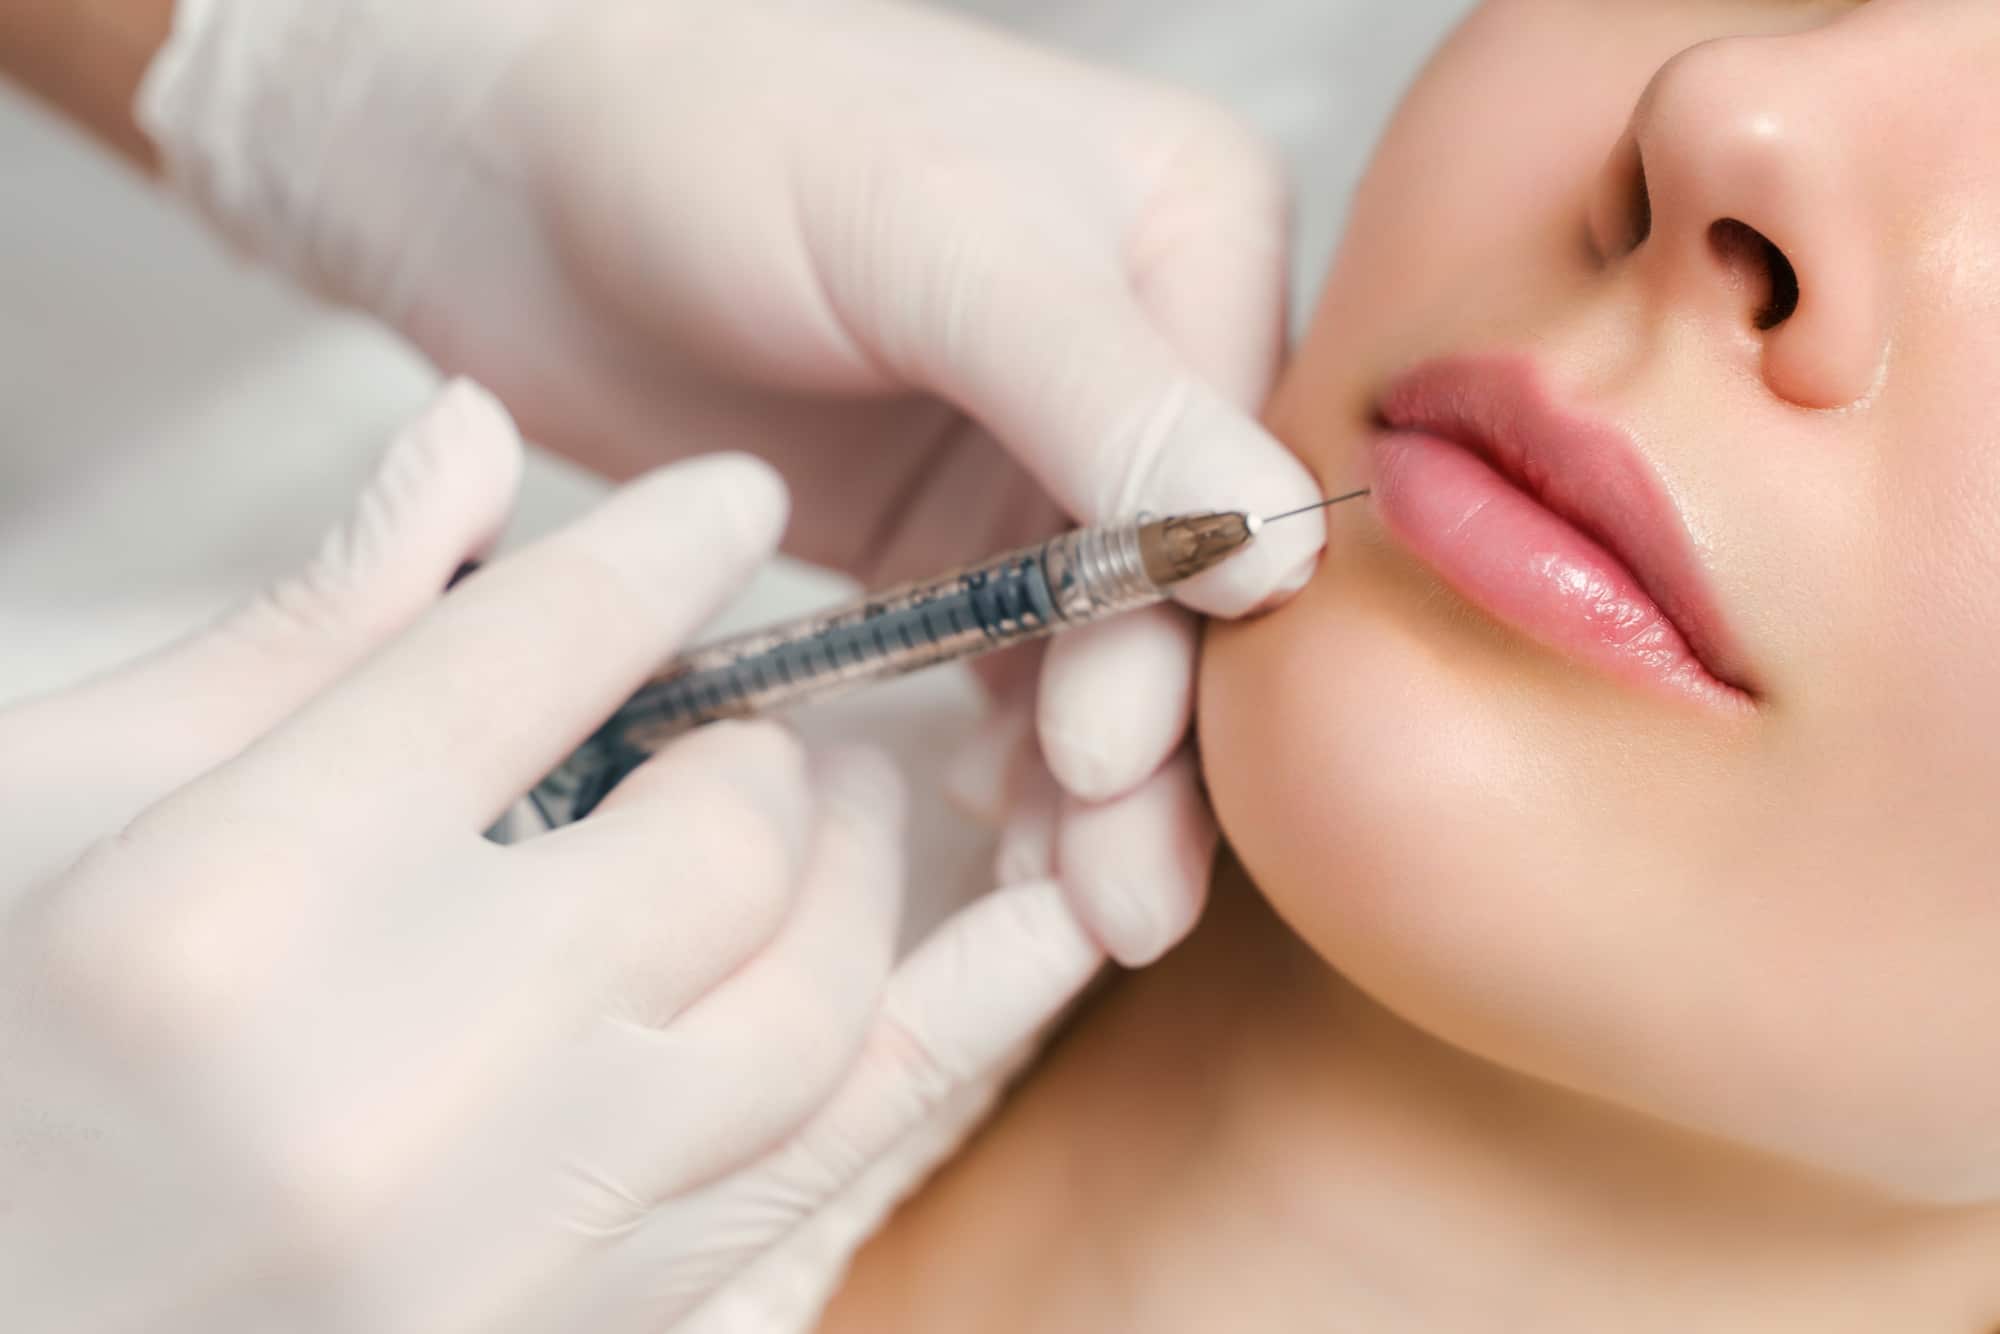
Use Instructions
- Inform patient about indications, expected results, precautions, and potential adverse events.
- Assess patient’s need for pain relief.
- Follow strict aseptic technique.
- Clean treatment site thoroughly with suitable antiseptic solution.
- Firmly hold glass syringe barrel and luer-lock adapter using thumb and forefinger.
- Using other hand, grasp needle shield or cannula hub, then push and rotate firmly to assemble. Improper assembly may cause needle and syringe to separate during injection.
- Do not attempt to bend or manipulate needle or cannula before or during treatment or it may break.
- To activate Smart Click System, press down on button located on finger grip until it locks into place.
- Before you inject, press syringe rod carefully until small droplet of gel is visible at needle tip, which removes air.
- If using a cannula, make an entry point into the skin using a sharp needle. Inject slowly, keeping cannula hole facing downwards, away from the skin’s surface, to ensure you maintain gel flow at the correct tissue depth.
- Inject into the skin’s mid-dermal layer.
- Do not apply excessive pressure. If needle or cannula encounter resistance, such as from the presence of scar tissue, partially withdraw and reposition or fully withdraw to check for function.
- Avoid injecting too large a volume or too superficially because this may cause bumps.
- If overlying skin blanches (turns a whitish color), stop injecting immediately and massage the area until normal color returns.
- Gently massage treated areas after injection if you notice any irregularities.
- The manufacturer recommends performing three Restylane treatments two to four weeks apart, with a maintenance treatment every four to six months. Results and patient preferences may vary.
- Properly dispose of syringe, needle, and any unused material.
Related Articles
- Buy Restylane Products Online Best Price Guaranteed
Related Articles
Joanna Carr
How Long Does Juvederm Voluma Last? Explained
Interested to learn more about How Long Juvederm Voluma Lasts? Browse Doctor Medica's comprehensive listing of blog posts.
Joanna Carr
Dysport Bunny Lines: Minimizing Nasal Wrinkles with Neurotoxin Injections
Explore Dysport's benefits for minimizing nasal wrinkles and how patients can achieve natural-looking results through this treatment.
Joanna Carr
Understanding Mesotherapy Side Effects: What You Need to Know
Interested in learning more about Understanding Mesotherapy Side Effects? Browse Doctor Medica's comprehensive archive of blog posts.


