Your Cart is Empty
Start shopping

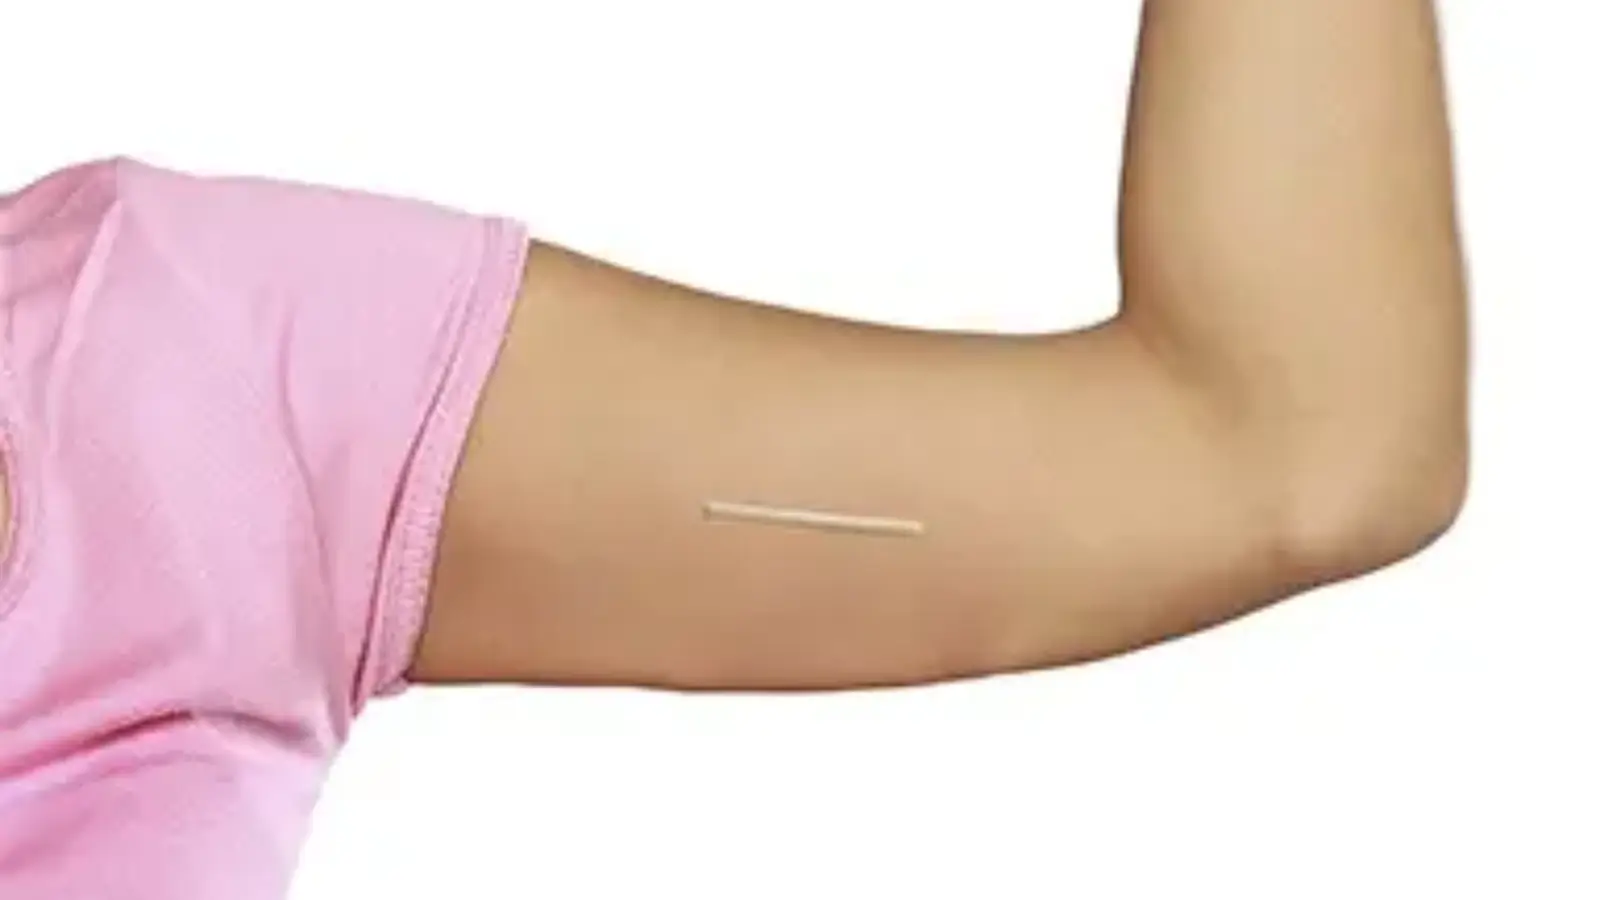
Birth control implants, like Nexplanon, are one of the most reliable forms of contraception, offering up to three years of pregnancy prevention with a failure rate of less than 1%. These tiny, flexible rods work by continuously releasing hormones into the bloodstream, but when it’s time to stop using them—whether due to personal choice, side effects, or a switch to another method—proper removal by a healthcare professional is essential.
While inserting Nexplanon is a quick and straightforward procedure, removal requires precision and care to prevent complications like tissue damage or implant breakage. Done correctly, the process is typically simple, safe, and minimally uncomfortable.
In this guide, we’ll walk you through everything you need to know about Nexplanon removal—from the step-by-step procedure to aftercare tips and what to expect during the process.
Key Takeaways
- Evaluation is essential for safe removal. If the implant is not palpable, imaging techniques like ultrasound may be needed.
- Fertility can return quickly, sometimes within days. Patients who wish to avoid pregnancy should discuss alternative contraceptive options beforehand.
- To minimize infection risks, a sterile removal kit with gloves, local anesthetic, a scalpel or scissors, forceps, and gauze is necessary.
- The removal process involves anesthetizing the site, making a small incision, extracting the implant, confirming removal, and applying wound care.
- Complications such as fibrotic encapsulation or implant migration may require additional techniques for safe extraction.
- Aftercare includes proper wound care, monitoring for infection, and guidance on fertility and contraception post-removal.
- Nexplanon removal typically takes 5-10 minutes, though complex cases may require more time.
About: Doctor Medica is your trusted supplier of top-quality dermal fillers, viscosupplements, and more for your medical practice. We offer genuine products from leading brands at the lowest prices. If you’re interested in ordering Nexplanon online for your practice, our sales agents at Doctor Medica can help.
Recommended products
Considering a Purchase?
Sign in to Explore Options.
Pre-Removal Evaluation and Preparation
Before removing Nexplanon, a thorough assessment ensures a smooth procedure with minimal complications. Most implants can be easily felt under the skin, but if the implant is not palpable, imaging techniques like ultrasound or X-ray may be necessary. Deeply placed or migrated implants require additional planning and specialized techniques to ensure safe and efficient removal.
Since fertility can return quickly after Nexplanon removal—sometimes within days—patients who do not wish to conceive should discuss alternative contraceptive methods beforehand. Others may wonder, “do you ovulate on Nexplanon?“ Understanding how the implant affects ovulation can provide insight into post-removal hormonal changes and fertility patterns.
Preparing a Sterile Removal Kit
A well-prepared sterile removal kit is essential for a safe and efficient Nexplanon extraction. Using proper tools minimizes the risk of infection and ensures a smooth procedure. Before beginning, practitioners should confirm that all necessary instruments are available and ready for use:
- Sterile gloves and drapes
- Local anesthetic (1% lidocaine without epinephrine)
- Scalpel (No. 11 blade) or sterile surgical scissors
- Hemostat or forceps
- Sterile gauze, antiseptic, and adhesive bandages
Step-by-Step Nexplanon Removal Process
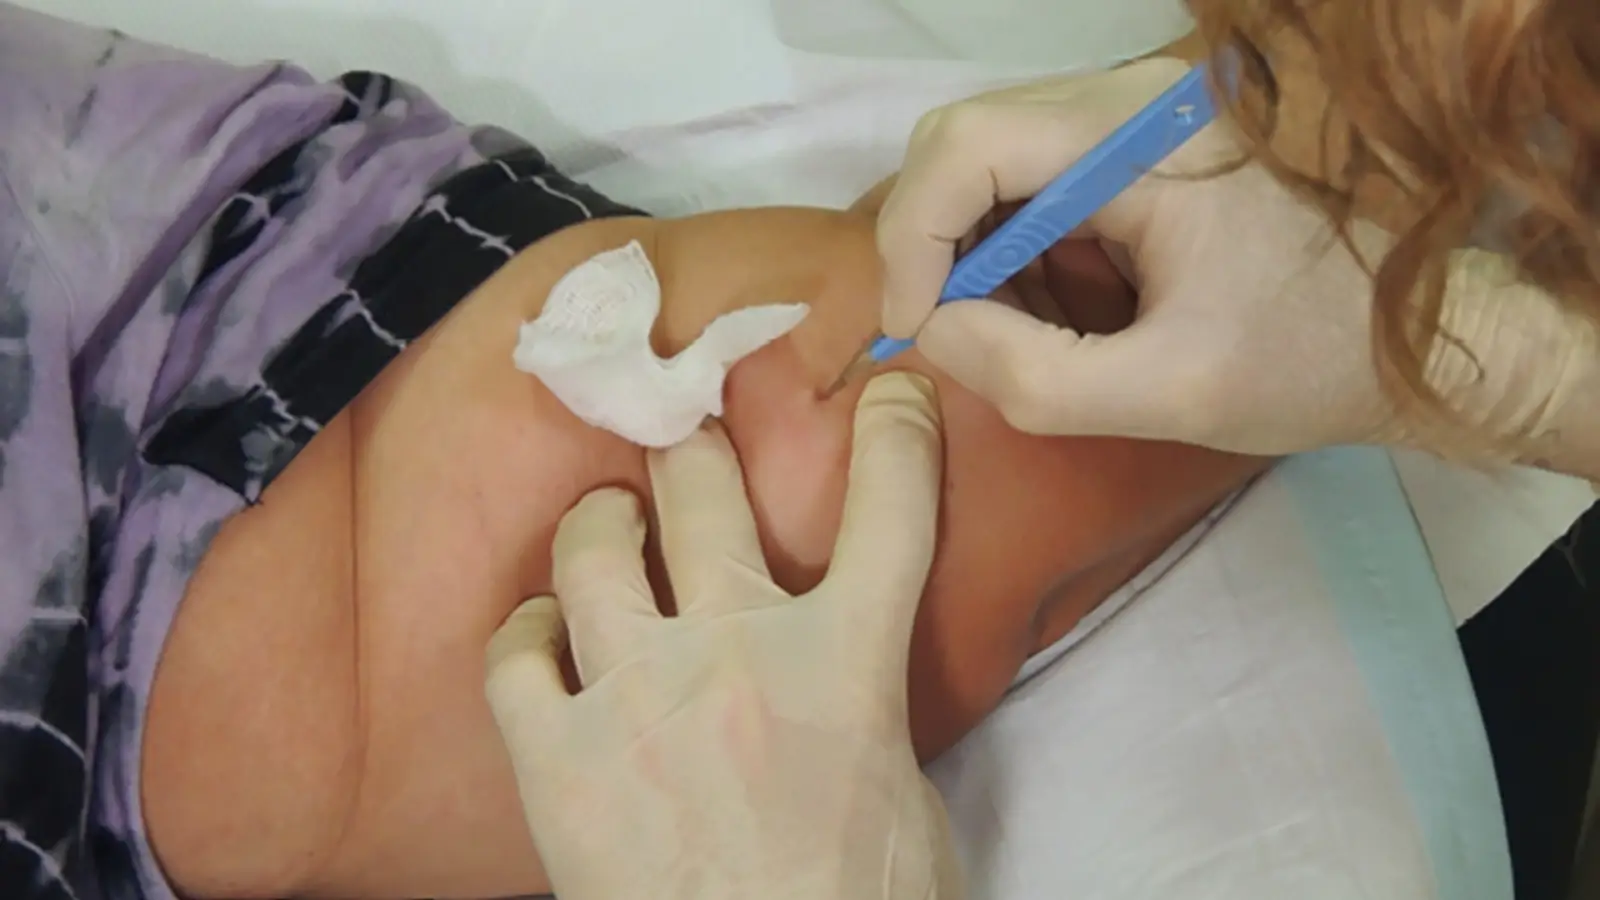
A careful and methodical approach ensures smooth and safe extraction of the implant.
- Anesthetize the Removal Site: Inject local anesthesia over the implant to numb the area, but avoid excessive fluid injection to prevent swelling that could complicate extraction.
- Make a Small Incision: Create a 2-3 mm incision above the implant’s distal end and apply gentle pressure at the proximal end to push it toward the incision.
- Extract the Implant: Use forceps to grasp and pull out the implant, carefully dissecting around it if adhered to fibrous tissue.
- Confirm Complete Removal: Measure the extracted implant (approximately 4 cm) to ensure full removal, and perform further dissection if any fragment remains.
- Close the Incision: Apply sterile gauze and a pressure bandage to minimize bruising, as sutures are typically unnecessary unless a larger incision was made.
Complications and Difficult Removals
While most Nexplanon removals are straightforward, certain complications may require additional techniques to ensure a safe and successful extraction.
- Fibrotic Encapsulation: In some cases, the implant becomes surrounded by fibrous tissue, making removal more challenging. Careful dissection is required to separate the implant while minimizing trauma to surrounding tissue.
- Deep or Migrated Implants: If the implant has migrated or is placed too deeply, ultrasound or fluoroscopy may be needed to locate it accurately. In rare cases, a surgical referral may be necessary for deeply embedded implants.
- Minimizing Tissue Trauma: Using a small incision and gentle dissection helps reduce scarring and discomfort. Avoiding excessive pulling prevents nerve irritation and prolonged soreness.
Post-Removal Care and Patient Counseling
Proper aftercare is key to ensuring smooth healing and minimizing discomfort after Nexplanon removal.
- Wound Care and Infection Prevention: Keep the bandage on for 24–48 hours to prevent contamination, and avoid soaking the area in water during this time. Monitor for signs of infection such as redness, swelling, or pus.
- Fertility and Contraceptive Planning: Ovulation can resume as soon as 1–2 weeks after removal. Those who wish to prevent pregnancy should start an alternative contraceptive method immediately. Some temporary menstrual irregularities may occur as hormone levels adjust.
- Monitoring for Complications: Mild bruising and soreness are normal and should improve within a few days. However, if pain persists, numbness develops, or healing is delayed, a healthcare provider should evaluate the area.
Conclusion
Healthcare professionals must safely remove Nexplanon to ensure patient comfort and successful outcomes. By using the correct removal techniques, minimizing complications, and providing thorough aftercare, practitioners can help patients navigate this transition smoothly.
Whether a patient is switching to another contraceptive method or preparing for pregnancy, proper counseling and post-removal care play a crucial role in ensuring a positive experience and long-term satisfaction.
FAQs
1. How long does Nexplanon removal take?
Nexplanon removal typically takes 5-10 minutes in straightforward cases. The procedure may take longer if the implant is deeply placed or encapsulated.
2. Is Nexplanon removal painful?
The procedure is not painful, as local anesthesia is used. However, mild soreness or bruising may occur afterward, which usually resolves within a few days.
3. How soon can I get pregnant after Nexplanon removal?
Fertility can return immediately, and some women ovulate within 7-14 days. Those not planning a pregnancy should use alternative contraception right away.
4. What should I do if my Nexplanon is hard to locate?
If the implant is not palpable, an ultrasound or X-ray can help locate it. Deep or migrated implants may require specialized removal techniques by an experienced provider.
References
What is the Effectiveness of the Birth Control Implant? Planned Parenthood. https://www.plannedparenthood.org/learn/birth-control/birth-control-implant-nexplanon/how-effective-is-the-birth-control-implant
Contraceptive implant. Cleveland Clinic. Published February 12, 2025. https://my.clevelandclinic.org/health/articles/24564-contraceptive-implant